
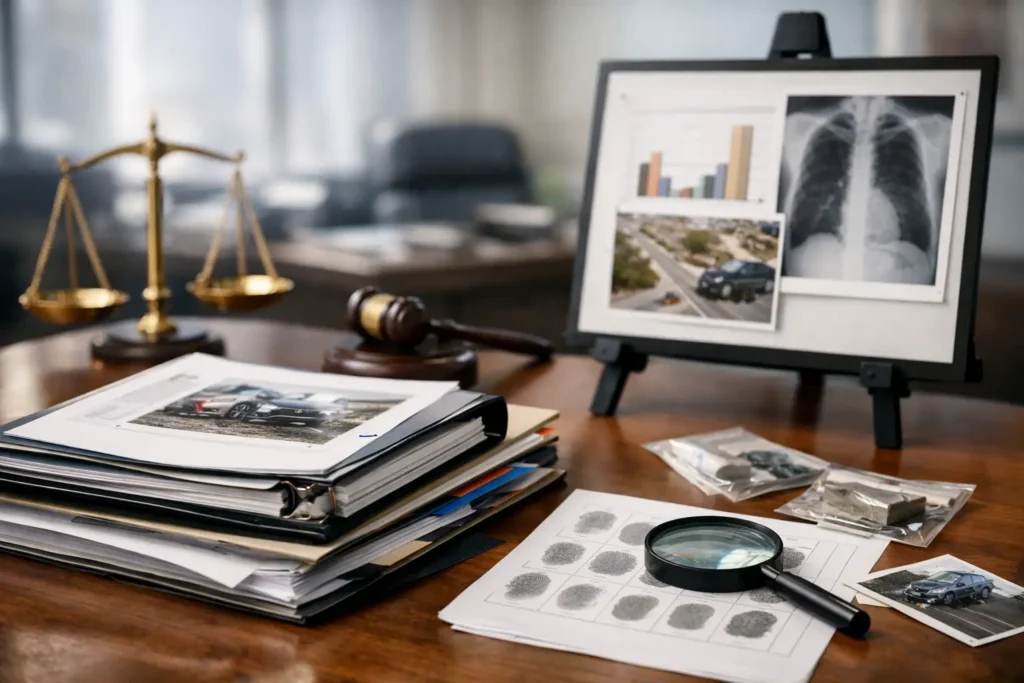
A trial team can spend months building a persuasive case and still lose valuable time at counsel table because an exhibit binder has the wrong version, a video will not play, or a board arrives with a cropped image. Exhibit preparation is not a last-minute print task. It is a controlled production process that connects evidence, courtroom procedure, technology, and timing.
This litigation exhibit preparation guide is built for attorneys, paralegals, and litigation-support teams who need exhibits that are accurate, usable, and ready when the court calls the case. The exact requirements will vary by court, judge, and case type, so confirm the governing orders and local rules first. From there, disciplined planning prevents the avoidable problems that create stress during trial.
Start Exhibit Preparation Before Trial Week
The most reliable exhibit sets are planned while discovery and motion practice are still underway. Waiting until a pretrial deadline approaches often creates version conflicts, rushed printing, and incomplete review. Begin by identifying the expected exhibit types: pleadings, contracts, emails, deposition excerpts, demonstratives, photographs, medical records, engineering plans, native files, audio, and video.
Create one central exhibit inventory that the legal team can trust. Each entry should identify the proposed exhibit number, a short description, the source file location, Bates range where applicable, sponsoring witness, authentication status, objections, and whether the item requires a paper copy, digital format, or enlarged display. This inventory becomes the production roadmap.
A simple file naming standard matters more than it may seem. When several people are revising documents, names such as “final,” “final 2,” and “really final” are an invitation to trouble. Use a convention that includes the exhibit number, concise description, date, and version status. Restrict final production files to a designated folder with clear access controls.
Build a Litigation Exhibit Preparation Workflow
A good workflow separates legal decisions from production execution, while keeping both groups in close communication. Attorneys decide what belongs in the set and how it supports the case. Paralegals and litigation-support staff manage the index, source verification, and review. A production partner handles secure reproduction, finishing, packaging, and delivery specifications.
Confirm Court and Counsel Requirements
Before producing anything, confirm the practical rules for the trial. Ask how many sets are required for the court, opposing counsel, witnesses, and the trial team. Determine whether exhibits need tabs, stamps, binders, electronic media, or a specific index format. Verify filing deadlines, exchange deadlines, courtroom technology requirements, and restrictions on oversized demonstratives.
Do not assume a prior matter used the same procedure. Some courts prefer individual exhibits in folders; others expect tabbed binders. One judge may permit electronic presentation with a paper backup, while another expects hard copies at the bench. The cost and timing of production depend on these details, so resolve them early.
Verify Every Source File
The exhibit list is only as dependable as the underlying files. Compare each proposed exhibit against the approved source, deposition designation, discovery production, or filed document. Check page counts, Bates numbers, redactions, attachments, image quality, and orientation.
This review is particularly important for scanned records. A missing page, a faint handwritten notation, or an incorrectly rotated medical record can change how easily a witness or juror understands the evidence. For color-dependent evidence such as photographs, maps, charts, or highlighted records, inspect the output in color rather than relying on a grayscale proof.
If an item has been redacted, verify that the redaction is permanent and that metadata, hidden layers, comments, and searchable text do not expose protected material. That is a legal and technical review, not just a formatting check.
Lock the Exhibit Numbering System
Once numbering is approved, treat it as controlled information. Renumbering late in the process creates a chain reaction through exhibit lists, witness outlines, demonstratives, deposition clips, and courtroom presentation files. If changes are unavoidable, document them immediately and distribute an updated index to everyone who needs it.
Exhibit labels should be legible, consistently placed, and aligned with the official exhibit list. Confirm whether labels should appear on every page, only on the first page, or in a particular location. The right approach depends on the court’s instructions and the nature of the materials.
Produce Copies That Work Under Pressure
Trial exhibits must survive handling, quick reference, and repeated use. A clean PDF on a screen is not automatically a usable courtroom exhibit. Printing, binding, and finishing choices should reflect how the materials will be used.
For standard document sets, consistent paper weight, readable reproduction, durable tabs, and clear binders help counsel locate evidence quickly. High-volume materials may be more practical in multiple smaller binders than one oversized volume. A witness binder should be organized for the witness’s use, not merely as a duplicate of the attorney’s working file.
Oversized plans, timelines, photographs, and demonstrative graphics need special attention. Small type that looks acceptable on a desktop monitor may be unreadable from the witness stand or jury box. Review proofs at the intended size. Decide whether mounting, laminating, foam board, easel-ready finishing, or rollable prints best fit the courtroom and the planned presentation.
Digital exhibits require the same discipline. Test videos with audio, confirm codec compatibility, verify slide decks, and make sure hyperlinks or embedded media work on the actual presentation system. Bring backup copies on approved media where permitted. Technology failures do happen, and a paper or static-image contingency can keep the examination moving.
Use Quality Control at Three Separate Stages
One final glance is not a quality-control process. High-stakes exhibit production benefits from three distinct checks.
First, conduct a content review before production. Confirm that the correct documents, pages, redactions, and versions have been selected. Second, review a proof or sample after formatting but before the full run. This step catches tab placement, label positioning, color shifts, cropping, and pagination issues. Third, inspect the completed set against the inventory before packaging and delivery.
For large productions, use a manifest that records each package, binder, electronic drive, or display item. Include the contents, quantity, recipient, and delivery status. This protects the team from wondering whether the court set, witness set, or opposing counsel copies were all completed and sent.
Protect Confidentiality and Chain of Custody
Exhibits often contain sensitive business records, personal information, medical materials, or confidential discovery. Security should be planned from intake through delivery. Limit access to authorized personnel, use secure transfer methods, and keep working files separated from approved final files.
For physical materials, document pickup, reproduction, storage, and delivery. For electronic files, confirm who can access the folder, how files are transmitted, and whether encrypted media or password protection is required. The appropriate level of control depends on the protective order, client policy, and sensitivity of the records, but casual file sharing is rarely appropriate for trial-bound evidence.
A local litigation-support provider can be especially useful when the schedule is tight or the materials cannot safely move through multiple hands. In Houston, The Document Group supports legal teams with litigation copying, e-discovery support, trial graphics, secure file handling, and coordinated production under demanding deadlines.
Plan for Changes Without Rebuilding Everything
Late changes are part of litigation. A ruling may exclude an exhibit, a witness may need a revised binder, or counsel may decide that an enlarged timeline will clarify a key point. The objective is not to pretend changes will not happen. It is to make changes without losing control.
Keep editable source files for demonstratives, maintain a current exhibit inventory, and preserve clear version history. Produce a small initial proof set before committing to a large run whenever timing permits. If a deadline is immediate, communicate the priority order: which materials must be ready for opening, which are needed for a particular witness, and which can follow later.
This is where an accountable production partner adds real value. The team should ask practical questions, flag issues before they become expensive, and coordinate pickup or delivery around the trial schedule. Fast turnaround is helpful, but accuracy is what makes a rush job successful.
Make the Courtroom Experience Easier
The best exhibit package is almost invisible. Counsel can find the right tab, hand the witness a clean copy, display the image at a readable size, and move to the next question without a delay that breaks the rhythm of examination.
Build that result through early inventory control, source verification, production proofs, careful finishing, secure handling, and a realistic backup plan. When the case is moving quickly, well-prepared exhibits let the legal team focus on the testimony and the argument rather than searching for the evidence they already worked so hard to prepare.