
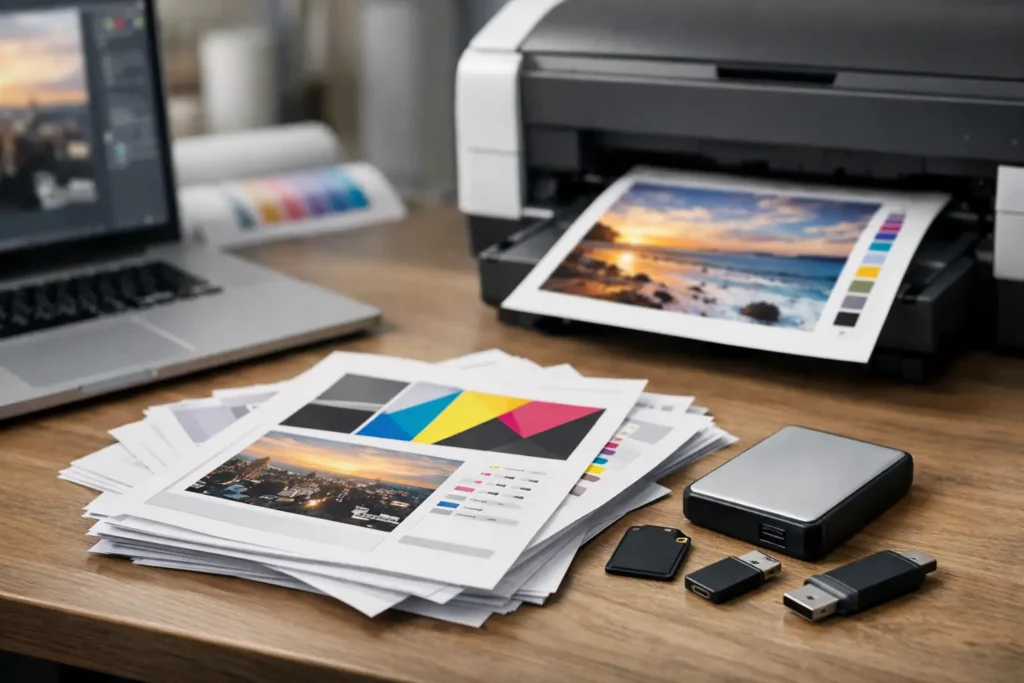
A file can look perfect on a laptop and still produce a disappointing print job. A logo may shift, a photo may soften, a border may be trimmed unevenly, or a critical page may print at the wrong size. Choosing the right print-ready file formats before production helps avoid those problems, especially when a deadline leaves little room for revisions.
For most business print projects, the goal is not simply to send a file that opens. The goal is to send a file that preserves page size, fonts, images, colors, and layout exactly as intended. That gives your production team a cleaner starting point and gives you more predictable results.
What Makes a File Print-Ready?
A print-ready file contains the information needed to reproduce a document without rebuilding or guessing at its design. It has the correct finished dimensions, sufficient image resolution, embedded or outlined fonts, appropriate color settings, and any required bleed. It should also be reviewed at the final page count and in the final reading order.
The format matters because each file type handles those elements differently. A Word document, PowerPoint presentation, or Canva export can be useful during creation, but those formats can change when opened on another computer or passed through a production workflow. Missing fonts, shifted line breaks, substituted images, and changed margins are common concerns.
A final PDF is usually the most dependable handoff format because it locks the page layout in place. But not every PDF is equally prepared for print. A low-resolution image placed in a PDF remains low-resolution, and a PDF built at letter size will not automatically become a correctly proportioned 24-by-36-inch poster.
Print-Ready File Formats for Common Projects
PDF: The standard choice for most print work
For brochures, booklets, manuals, proposals, legal exhibits, flyers, postcards, presentations, and signs, a high-quality PDF is generally the preferred format. It holds text, vector artwork, images, and page layout together in one file. PDFs are also easy to proof, archive, and send securely.
When your software provides PDF export options, select a press-quality or high-quality print setting rather than a small-file or web-optimized setting. If available, PDF/X standards can be helpful for commercial printing because they are designed to reduce common output issues. PDF/X-1a is often used for CMYK and spot-color jobs, while PDF/X-4 can retain more modern transparency and color-management information. The best choice still depends on the print provider’s workflow and the project requirements.
For a multipage document, export one complete PDF in final page order unless you have been asked to supply separate files. Sending individual pages without clear names can create avoidable confusion when a project is moving quickly.
TIFF and JPEG: Best for photographic images
TIFF files are high-quality raster image files often used for photography, scans, and archival image work. They can be large, but they do not use the same aggressive compression found in many JPEGs. TIFF is a strong option when an image needs careful reproduction or will be incorporated into a larger design file.
JPEG files are practical for photographs and can print well when they start with enough resolution and have not been repeatedly saved or compressed. The trade-off is that JPEG compression can introduce artifacts, particularly around fine details, type, and sharp graphic edges. A JPEG is rarely the best format for a logo or line-art graphic.
For standard small-format printing, aim for images that are approximately 300 pixels per inch at their final printed size. An image that is 300 ppi at 4 by 6 inches will not remain 300 ppi if enlarged to 8 by 12 inches. It will have to stretch, and the printed result may look soft or pixelated.
PNG, SVG, EPS, and native design files
PNG files are useful for screen graphics and images requiring transparent backgrounds, but they are not a first choice for most commercial print projects. They may be appropriate for a supplied graphic element, yet the final layout should usually be delivered as a press-quality PDF.
SVG files contain vector information, which means logos, icons, and simple illustrations can scale without losing sharpness. EPS files serve a similar legacy role and may still appear in established design workflows. Both can be valuable source files for artwork, though a production-ready PDF is typically easier to review and output consistently.
Native files from Adobe InDesign, Illustrator, Photoshop, or other design platforms can be useful when changes are expected or a printer has requested them. They are not automatically safer than a PDF. Native packages may rely on linked images, installed fonts, and software versions that are not included with the submitted file. If you send native artwork, include all linked graphics and fonts when licensing permits, or package the project properly.
Resolution Depends on Viewing Distance
The familiar 300 ppi guideline is right for many brochures, reports, and photo prints viewed at arm’s length. Oversize graphics follow a different rule. A trade-show backdrop, storefront graphic, or building sign is often viewed from several feet away, so it may not need 300 ppi at full size.
That does not mean any small image can be enlarged for a banner. Fine type, detailed maps, and low-quality screenshots can still fail at large scale. For wide-format work, provide the largest original image available and identify the intended finished dimensions. A production team can evaluate the effective resolution and recommend whether the artwork needs adjustment before it reaches the press.
Color Settings Can Change the Final Result
Screens display color in RGB. Commercial presses commonly reproduce color with CMYK inks or toner. Those systems have different color ranges, so some bright screen colors cannot be matched exactly in print.
For everyday business documents, an RGB PDF may be acceptable because a professional workflow can convert it for output. For brand-sensitive pieces, packaging, event graphics, or materials that must match previously approved work, discuss color expectations before production. A conversion to CMYK may slightly dull neon blues, vivid greens, and highly saturated oranges. If a specific corporate color is required, provide the approved CMYK or spot-color value rather than relying on how it appears on a monitor.
Color also varies by stock, finish, lighting, and output process. A matte uncoated sheet absorbs color differently than a glossy coated sheet. When the stakes are high, request a proof or a sample on the intended material.
Bleed, Margins, and Fonts Are Not Small Details
Bleed is extra image or background area extending beyond the final trim edge. It allows a printed color or photo to run cleanly to the edge after trimming. A common requirement is 0.125 inch of bleed on each side, but specifications can vary by product and equipment.
Keep live text, logos, page numbers, and other essential content safely inside the trim area. A narrow white border may look intentional on screen but can appear uneven if it sits too close to the edge. If the design requires a border, allow enough room for normal trim variation.
Fonts should be embedded in the PDF or converted to outlines when appropriate. Embedding preserves the intended typeface, while outlining converts text into vector shapes. Outlining can prevent font-substitution issues, but it also makes text harder to edit and can affect searchability and accessibility. For legal filings, discovery sets, and documents that need to remain text-searchable, preserve searchable text and confirm any court or production requirements before flattening or outlining content.
A Practical Preflight Before You Send Files
Before submitting a job, review the final exported file rather than the source document. Check the finished size, orientation, page count, and page sequence. Zoom in on photographs, logos, fine rules, charts, and small text. Confirm that bleed is present where artwork reaches the edge and that no critical content sits in the trim area.
For technical plans and engineering sets, verify scale, line weights, grayscale legibility, and the requested sheet size. For trial exhibits and litigation copies, confirm exhibit labels, Bates ranges, confidentiality markings, tabs, and pagination against the approved source. These details are often more consequential than the file extension itself.
If you are unsure how to export a file, do not wait until the final hour to guess. Send the source file early enough for a review, explain the intended finished product, and identify the deadline. The Document Group can help Houston teams confirm file setup before a complex print, exhibit, or wide-format project moves into production.
The best file is the one that matches the job, preserves the details that matter, and arrives early enough for a careful check. A few minutes spent on file preparation can protect a presentation, a deadline, and the confidence that comes from putting the right materials in front of the right people.